Here is a beginners guide to making PDF documents similar to the ones on RedLibrary, using LaTeX.
The reason that LaTeX is used here, as opposed to something like Microsoft Word, is that it's very lightweight in terms of system requirements, totally free, and supports every platform that people use. You can write LaTeX documents in any text editor you like, and compile them seperately. You could even write a LaTeX document on pen and paper, and then input what you wrote to a compiler. If you learned LaTeX 15 years ago, chances are that the vast majority of what you learned is still directly applicable today.
In this guide, we will be using TeXstudio, a free program that supports Windows/Mac/Linux, to write and compile LaTeX, however many guides recommend using Overleaf instead. I intentionally didn't choose Overleaf because a. The vast majority of my LaTeX experience is on Texstudio, and b. You need to make an account on Overleaf to write LaTeX on it. You can use Overleaf if you'd like to, though, as nearly all of this guide directly applies to Overleaf, or any other LaTeX editor.
When you open TeXstudio for the first time, you will be confronted with a mostly blank screen. Click on the blank page icon on the top left, or hit CTRL+N, to make a new document.
Generally, the first thing you want to add is the line specifying the document class, which is generally speaking, the appearance that you want your document to have. You can do this by typing\documentclass{article}. In this example, our document class is article, however, you may want to use a different class. You can see the differences between all of the classes here, although most of the time, you will be writing with the article class. Nearly all of the documents on RedLibrary are in the article class, with exception for the works on Lulu, as the book class is generally better for, well, books.
If you want to have a custom font size, say, 12pt, then write \documentclass[12pt]{article} instead. As you can see, whatever is in the curly brackets is the main selection, while whatever is in the straight brackets is a modifier. If you want to have multiple modifiers, then you can just separate them with a comma ,, while inside the same straight brackets.
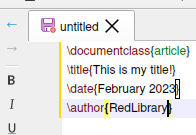
The next step is to specify the author, title, and/or date of your work. To do this, just go to another line and type \title{This is my title!}, while replacing 'This is my title!' with your actual title 🙂. The same principle applies for your date and author as well, just replacing \title with \date and \author, respectively.
Now, to make a document that we can see and read in PDF format, type \begin{document}, of course, Mao said: "All processes have a beginning and an end", and that applies to our document too! On the last line of the file, type \end{document} (TeXstudio may do this automatically). This tells LaTeX where the start and end of our document is. Everything must end, right? Make a new line above the end document line and type \maketitle, which prints our title at the top of the document. Voilà! Our document can now be produced. To do this, click on the two green arrows at the top of the screen, which should be labeled 'Build & View', if you hover your mouse over it. You can also hit F5 on your keyboard to access it even faster. This uses the text you wrote to make a real document! You will do this everytime you want to see your new changes in the formatted document. By now, we should probably save our file to not lose our progress if the power goes out, or something. To do this, hit CTRL+S or go to File -> Save on the top left, and pick where you want to save your file. It should end in .tex.
Here's a list of packages that I use frequently: graphicx (This lets me put images in the document), hyperref (This lets me put click-able links in the document), xurl (This makes footnotes a bit better formatted, though most of the time it doesn't make a difference). You can add packages by typing \usepackage{packagename} below your 'documentclass' line.
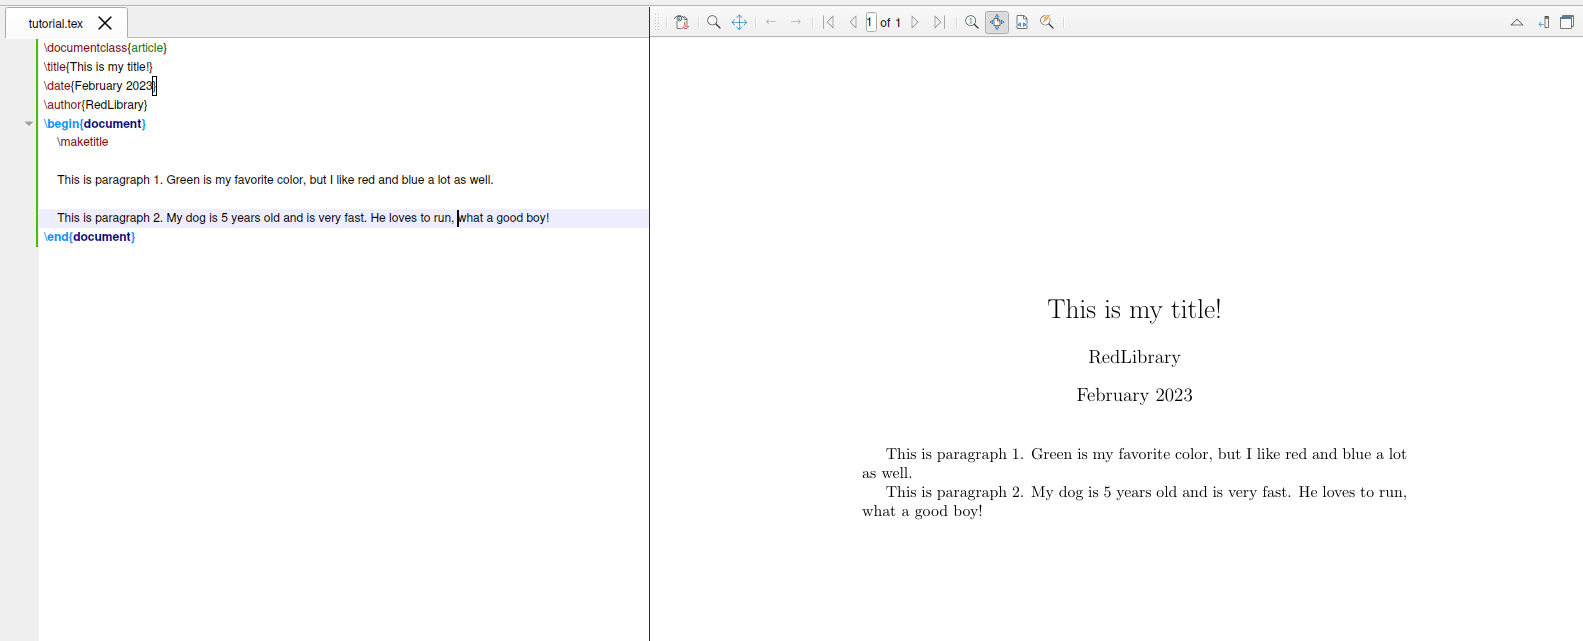
Let's write a simple document. Below your maketitle line, make a new line and start typing. If you want to have an indent on your first line, then keep a blank line between maketitle and your first sentence. Paragraphs are made by separating your text with one blank line inbetween them. Check out this image as an example:
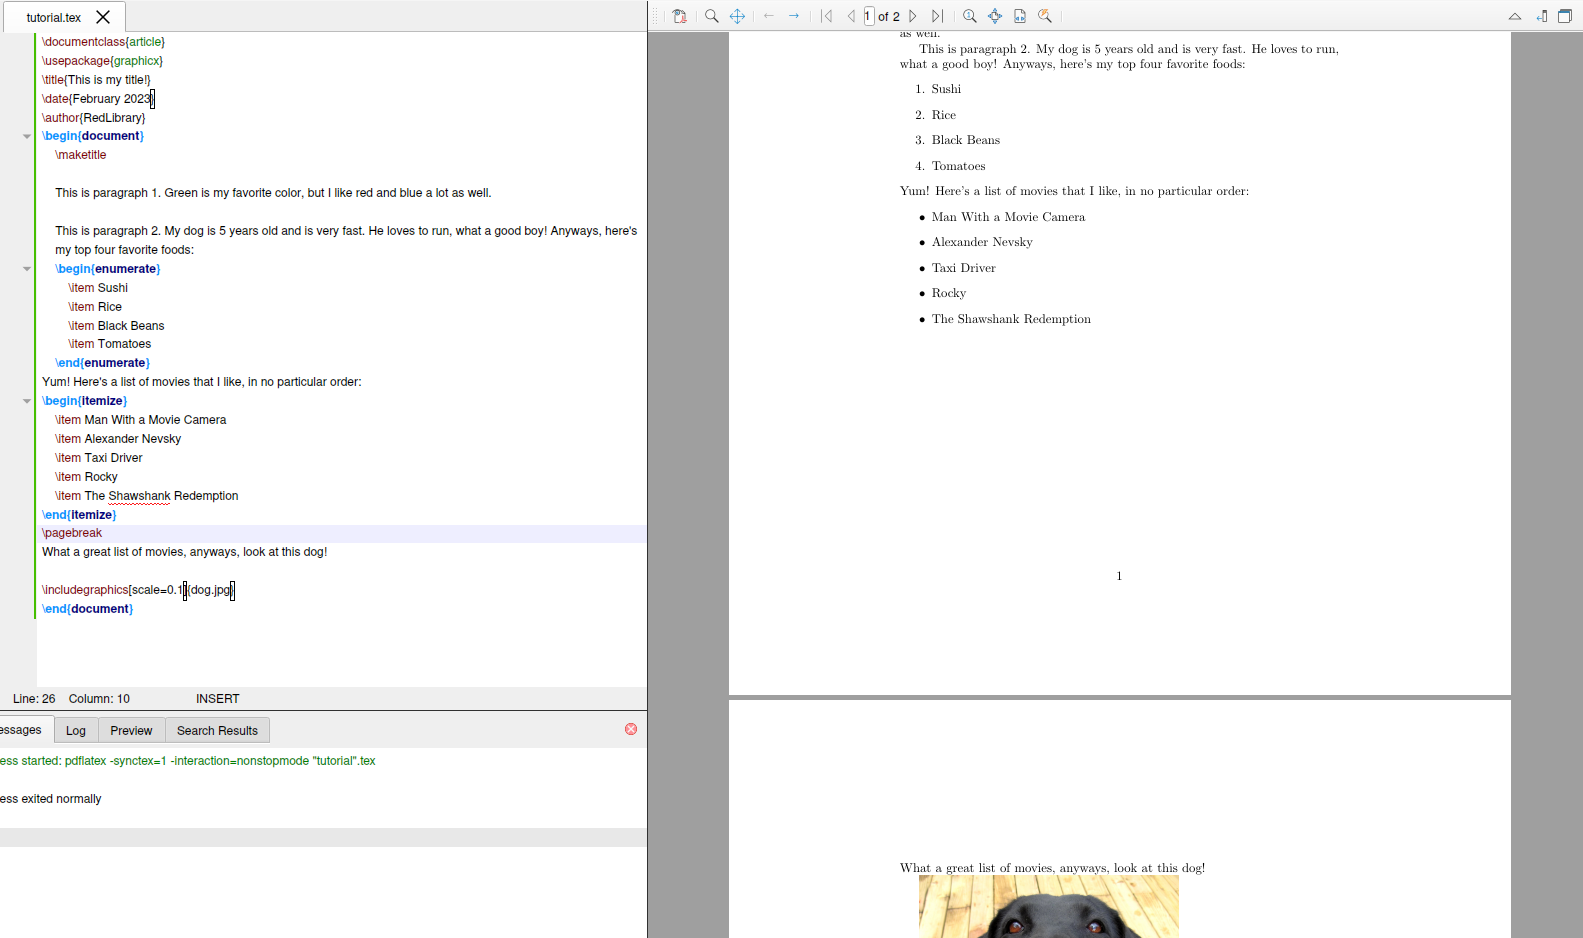
Some things that you will inevitably want to do are making numbered lists, non-numbered lists, and inserting images in the document. Let's start with making a numbered list. To make a numbered list, just type: \begin{enumerate}, with every list entry starting with \item on a new line. Of course, when we use \begin, we have to use an \end at some point. Type \end{enumerate} when you want to end your list. LaTeX does all of the numbering for you, how convenient!
To make a non-numbered list, just do the same thing, but replace enumerate with itemize. Instead of numbers, there will be bullet points.
To insert images, you need to use the graphicx package, listed in the 'Using packages to expand functionality' section above. To actually insert the image, type \includegraphics{imagefile}. In my case, the file name is dog.jpg, so I replaced 'filename' with dog.jpg. My image file is far too large for the document, so I want to scale it down to fit on the page. To do this, I typed \includegraphics[scale=0.1]{dog.jpg}. 'scale' changes the overall image size. 'scale=0.1' makes the image 0.1 of its original size. You could also replace 'scale' with 'width' or 'height', if you don't want to change the image size on both axes.
The text was separated from the image across two pages, which is a bit clunky to read if I printed it out on paper. To fix this, I just typed \pagebreak to make a pagebreak between the last list and the text above the image.
To access your PDF file outside of TeXstudio, go to the directory that you stored your .tex file at, the PDF file should be under the same name, but ending in .pdf. If it's not there, or it's missing some changes you made, make sure that you've saved the document (by hitting CTRL+S or going to File -> Save in TeXstudio) and have hit the 'Build & View' button (or hit F5) in TeXstudio.
Click here to download the .tex files, PDF, and image used in this guide